Mark the position where the rubber cover is pried open so that it will be easier to remove next time. Loosen the gear connection fixing screws for 2~3 turns. Just loosen them. You don’t need to remove them all. Remove the 2 screws at the arrows.
Disassembled outboard gearbox assembly. Disassembled Yamaha/Yum/Hai outboard gearbox.
Pay attention here!! The water pump impeller fixing pin is a small part that is easy to lose.
After removing the stainless steel gasket, you can see the water inlet channel for cooling water. Check for debris.
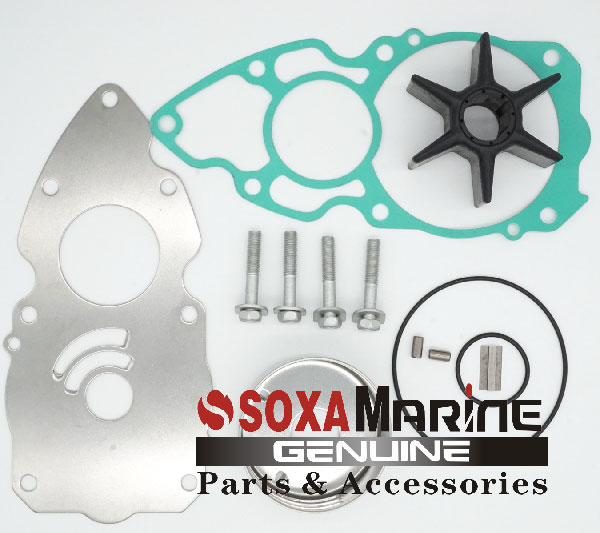
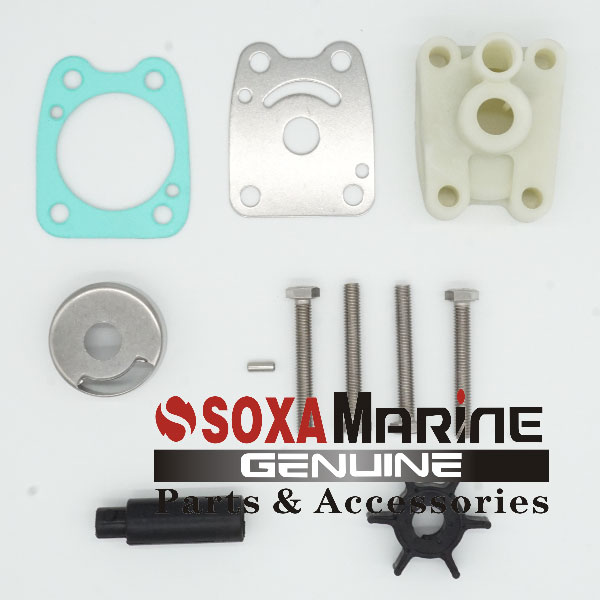
Parts of the outboard water pump assembly (there is also a rubber sleeve of the cooling water pipe that is not photographed and is still on the machine).
This includes 2 parts (they are well glued, so they are not separated). Check whether the gasket is intact and the wear of the tinplate. If necessary, replace the water pump gasket. It should be an O-ring on the outer body of the pump housing (the O-ring is more durable and convenient). The shape of the stainless steel gasket is also different.
Take out the inner bowl of the pump housing on the pump body. Clean the outer shell of the water pump and check the wear and groove of the inner bowl, and replace it if necessary.
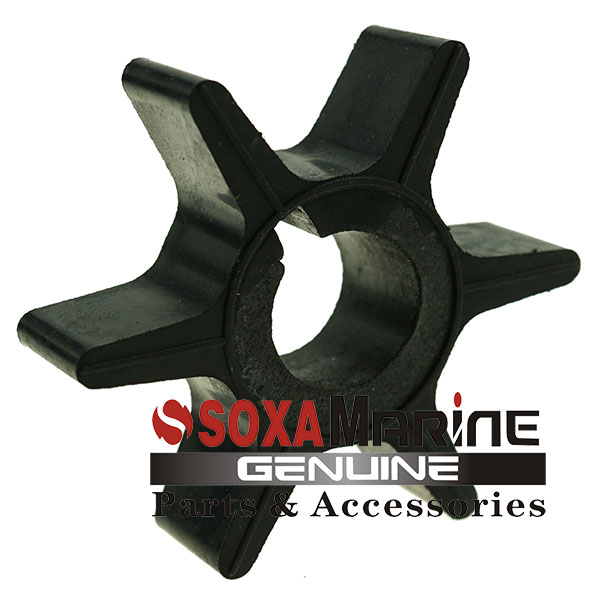
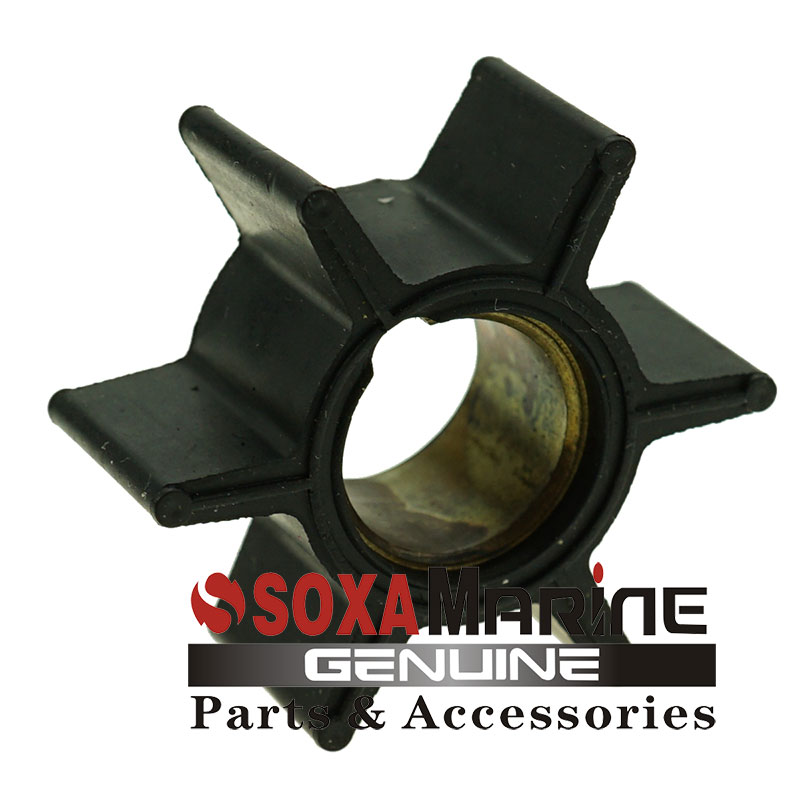
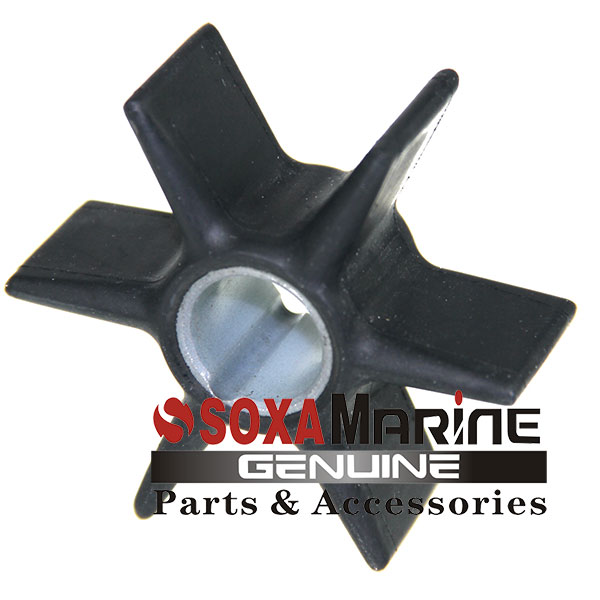
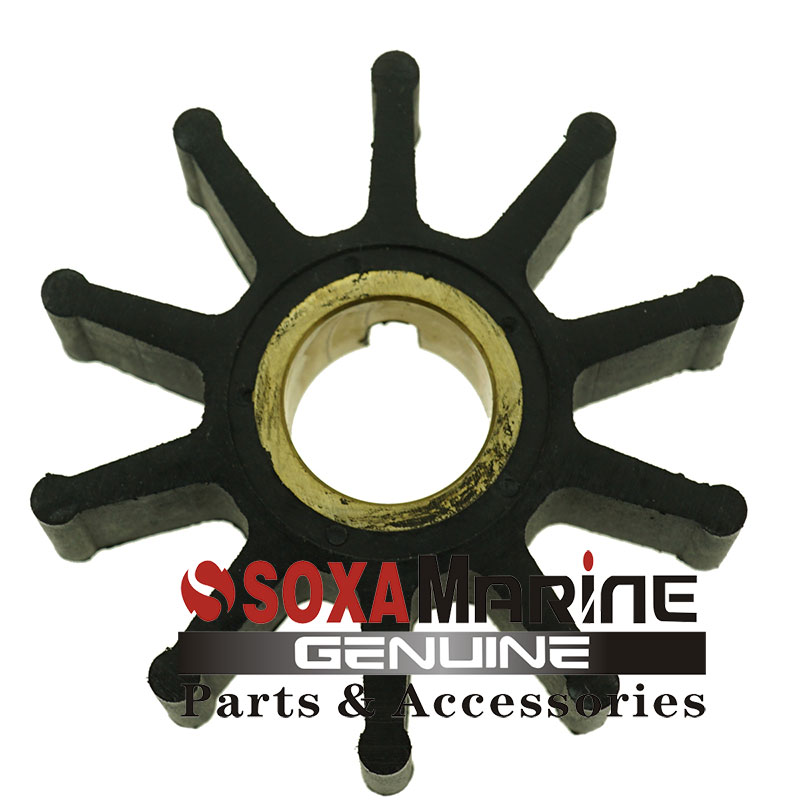
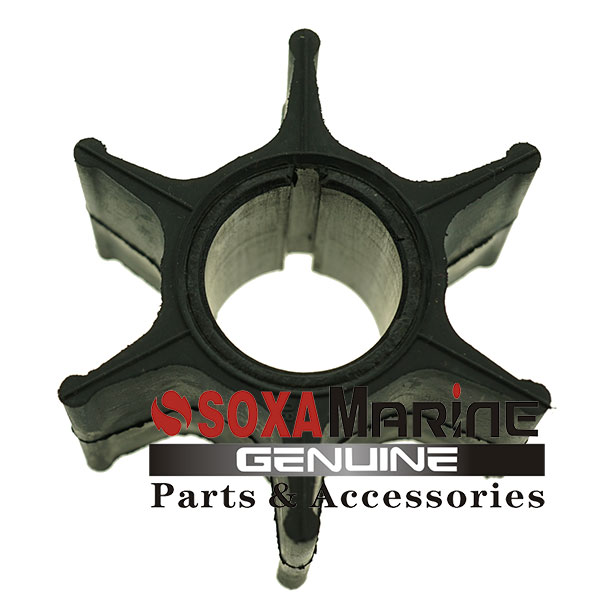
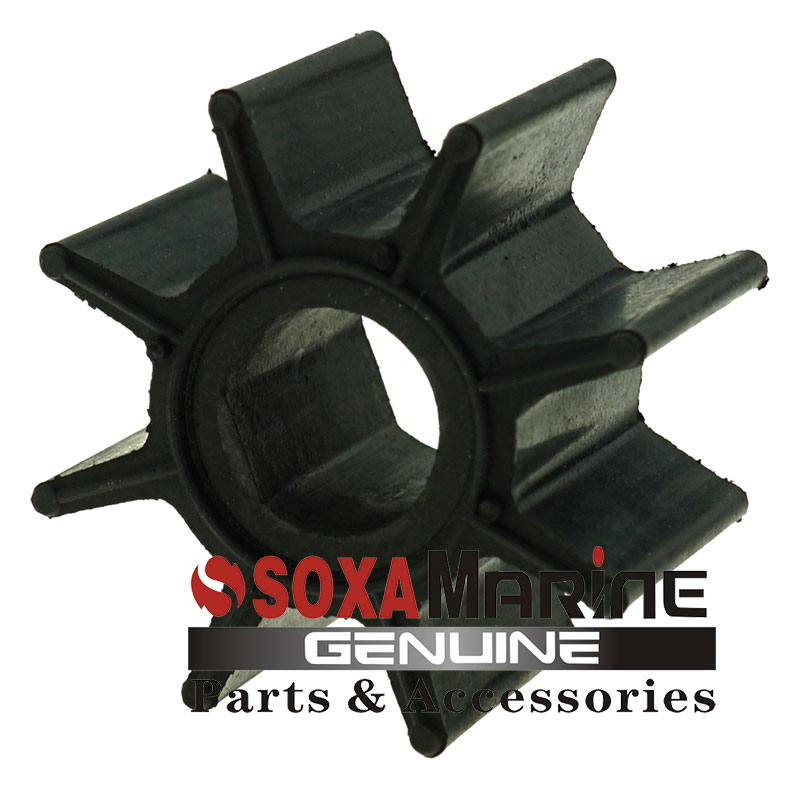
It is strongly recommended to use SOXAMarine’s wear-resistant rubber impeller. If it is not replaced in time, the water supply will be insufficient or directly unable to supply water, which will cause the engine temperature to rise instantly and damage the body.
Replace the stainless steel gasket and pin, and then reinstall the water pump impeller (the groove side faces down and aligns with the pin)
Check whether the rubber sleeve connecting the cooling water pipe is damaged
Replace the inner shell of the water pump and apply a little butter (better to install and avoid the blade end being clamped by the pump shell when locking it back)
The action of reinstalling the pump shell is not to force it back. The propeller faces you. You can rotate the drive shaft clockwise (neutral) or rotate the propeller (into the forward gear). If it is installed correctly, the pump shell will go down when it rotates.
If you are not sure about the model or the direction of rotation of the axle, you can first look at the direction of the removed old impeller. Before reinstalling, apply some butter to the tooth grooves of the transmission shaft and the front end of the shaft to prevent rust.
The order of alignment and reinstallation is → transmission shaft → cooling water channel → gear fixing seat.
Others: Check the corrosion of the sacrificial anode. Do not apply paint or oil, because the function of the self-corroding anode is to consume the anode itself to reduce the corrosion of the engine body shell. The surface of the self-corroding anode can be simply cleaned if it is not completely corroded or the corrosion is too thick, so that it can be evenly consumed.
The entire outboard engine replacement and inspection of the water pump impeller are now completed.
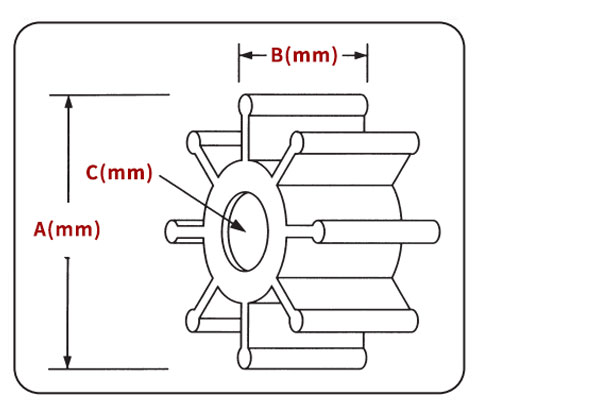
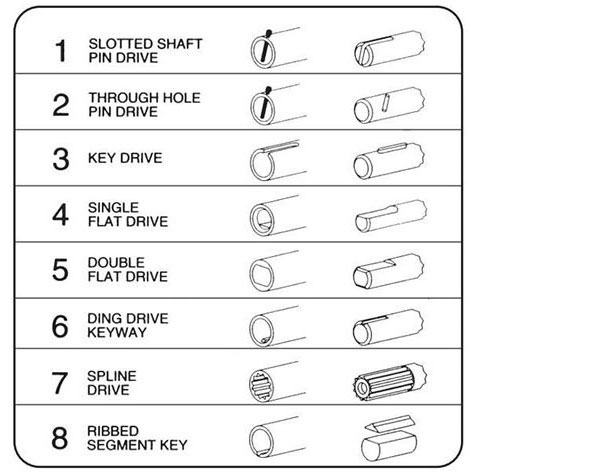
If you need to purchase an impeller product and cannot identify the type of rubber impeller equipment, please provide us with the A, B, C values and INSERT TYPE of the impeller as shown in the picture below, and we will try our best to find the corresponding accessories for you.
